How to Light Hookah Charcoal the Right Way: The Complete Shisha Guide
One of the biggest mistakes beginners make is assuming that lighting hookah charcoal is simple. In reality, improperly heated charcoal can completely ruin your session, creating harsh smoke, weak clouds, burnt shisha flavours, and poor heat control.
Whether you call it hookah, shisha, Narghile, Nargileh, or Argileh, proper charcoal preparation is essential for getting the best experience from your Maassel and molasses.
This guide explains exactly how to light hookah charcoal correctly, avoid common mistakes, and create smoother, cleaner, longer-lasting sessions.
Why Hookah Charcoal Matters
Your charcoal is the engine behind every hookah session.
Charcoal controls:
- Heat consistency
- Smoke production
- Flavour quality
- Session duration
- Cloud output
Poor-quality charcoal or improper lighting often causes:
❌ Burnt flavours
❌ Harsh smoke
❌ Weak clouds
❌ Uneven heating
❌ Short sessions
Natural charcoal generally provides cleaner flavour and longer sessions compared to quick-light alternatives.
Types of Hookah Charcoal
Before lighting your coals, understand the difference between the main types.
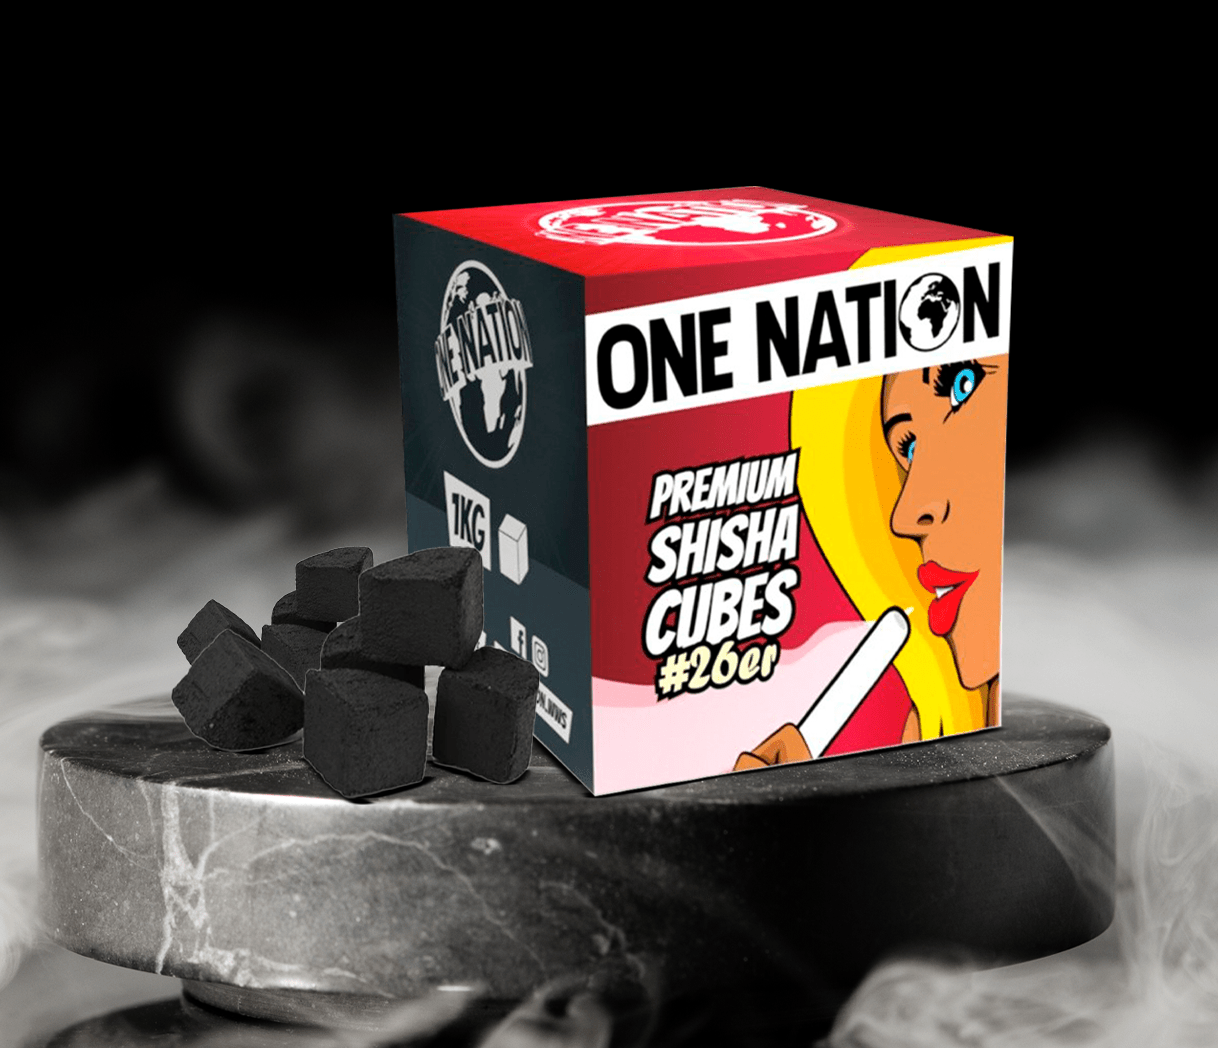
Natural Coconut Charcoal
Natural coconut charcoal is the preferred option for experienced hookah smokers.
Benefits:
✔ Longer burn time
✔ Cleaner taste
✔ Less ash
✔ Better heat consistency
✔ Longer sessions
Natural charcoal usually takes around 8–10 minutes to become fully ready depending on the burner and coal size.
Quick-Light Charcoal
Quick-light charcoal contains ignition agents that allow rapid lighting.
Benefits:
✔ Fast setup
✔ Portable
✔ Convenient for travel
Disadvantages:
- Shorter burn time
- Chemical smell
- Less consistent heat
- Can affect flavour quality
Quick-light coals typically ignite within seconds but often produce less natural flavour performance.
How to Light Natural Hookah Charcoal Properly
Follow these steps for consistent results.
Step 1: Place Coals on a Charcoal Burner
Use:
- Electric charcoal burner
- Coil heater
- Coal stove
Place 2–3 pieces of coconut charcoal evenly on the heating surface.
Do not stack them directly on top of each other.
Dedicated coil burners usually heat natural coals more evenly than flat surfaces.
Browse here:
Step 2: Heat One Side
Allow the coals to heat for approximately:
- 4–5 minutes
You will start seeing:
- Red glowing edges
- Light grey ash forming
Step 3: Flip the Coals
Using charcoal tongs:
- Turn every coal
- Heat the opposite side evenly
Most users flip their coals halfway through the process.
Step 4: Wait Until Fully Lit
Your charcoal is ready when:
✔ No black spots remain
✔ All sides glow evenly
✔ A light grey ash layer appears
Partially lit charcoal often causes unpleasant flavour and poor heat performance.
How to Position Charcoal on Your Bowl
Coal placement is almost as important as lighting.
For most setups:
Start by placing coals around the outer edge of the bowl instead of directly in the centre.
Benefits:
- More even heating
- Reduced burning
- Better flavour preservation
- Longer sessions
Starting directly in the centre can overheat tobacco quickly.
Browse:
Common Hookah Charcoal Mistakes
Using Coals Before They're Ready
Many beginners rush the process.
If black sections remain:
- Heat becomes uneven
- Smoke tastes harsh
- Flavour quality drops
Using Too Many Coals
More heat does not automatically create better smoke.
Excessive heat can:
- Burn Maassel
- Destroy molasses flavours
- Create harsh smoke
Placing Coals in the Centre Immediately
Starting at the edge creates gradual heating and better flavour control.
Ignoring Ventilation
Charcoal always produces gases during heating.
When lighting coals indoors:
✔ Open windows
✔ Use ventilation
✔ Keep burners on heat-safe surfaces
Best Charcoal Setup for Beginners
For most users:
Recommended starter setup:
- Coconut charcoal cubes
- Electric charcoal burner
- Heat Management Device (HMD)
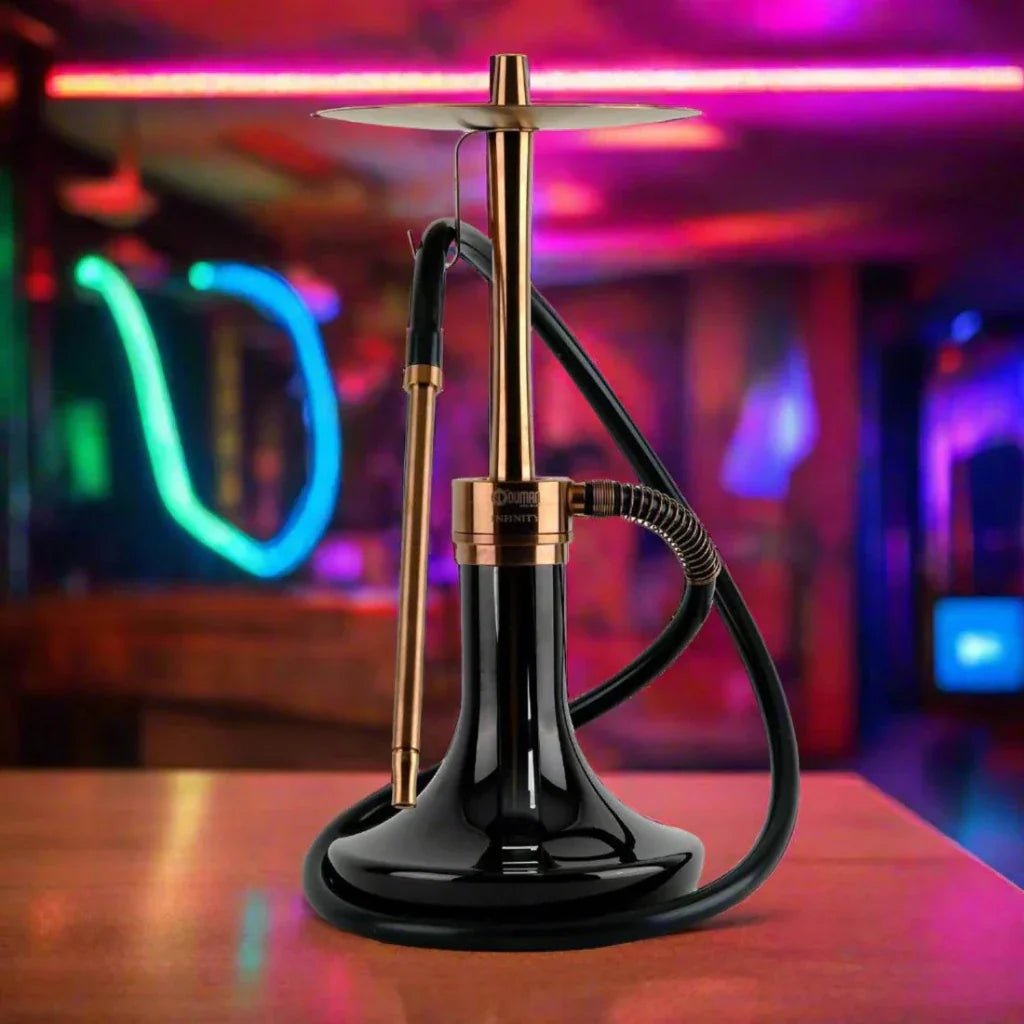
- Stainless steel hookah
This combination creates easier heat control and more forgiving sessions.
Browse complete setups:
Frequently Asked Questions
How long does hookah charcoal take to light?
Natural coconut charcoal generally takes around:
- 8–10 minutes
Quick-light charcoal usually takes:
- 20–30 seconds
How do I know when charcoal is ready?
Your charcoal is ready when:
- All sides glow evenly
- Grey ash covers the outside
- No black areas remain
Which charcoal is better for hookah?
Natural coconut charcoal is generally preferred because it provides:
- Better flavour
- Longer sessions
- Cleaner smoke
- More consistent heat
Why does my hookah taste burnt?
Common causes:
- Too many coals
- Excessive heat
- Poor charcoal placement
- Coals placed directly in the middle
Final Thoughts
Learning to light hookah charcoal correctly is one of the fastest ways to improve your sessions. Whether you enjoy hookah, Narghile, Nargileh, Argileh, or traditional shisha, proper heat management dramatically improves flavour, cloud production, and overall enjoyment.
Good charcoal preparation means better Maassel, richer molasses flavour, and smoother smoke every time.
